You want to make bread but feel overwhelmed by all the bread making techniques out there? I get it. It can feel like a maze with too many paths and not enough signs.
Trust me when I say, you’re not alone in this. I’ve wrestled with flour, yeast, and water, trying to figure out the magic that turns simple ingredients into something amazing. It’s not just about tossing stuff together; it’s about understanding the process.
In this article, I’ll break down the important techniques. You’ll learn what works and what doesn’t, drawing from my own trials and errors.
Expect practical takeaways that you can actually use. No fluff here, just the good stuff you need to succeed in your bread-making adventure. By the end, you’ll feel confident enough to bake your own bread, impressing yourself and anyone else lucky enough to share it with you.
Bread Making Basics: Why So Many Ways?
Bread making is a dance between flour, water, salt, and leavening. It’s about crafting something risen and edible from humble ingredients. Why do we have different bread making techniques, though?
It boils down to what you want from your loaf. Some methods need time, while others demand skill.
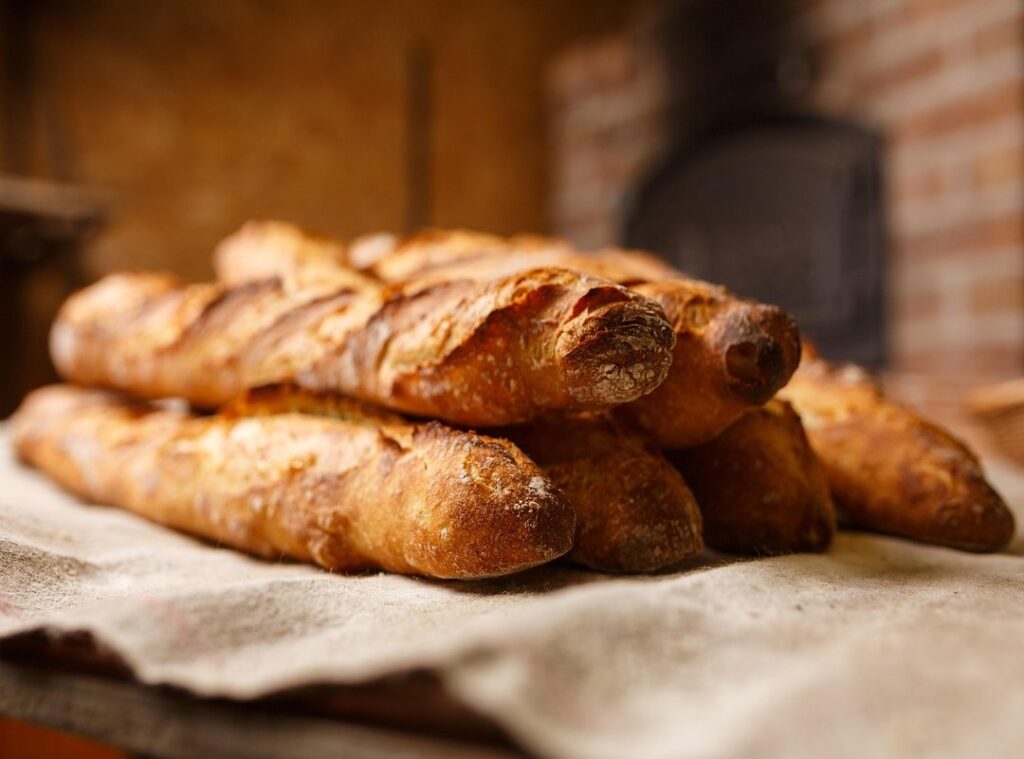
Take traditional yeasted bread, for instance. It’s quick and straightforward. Then you’ve got the no-knead method (which is all about patience) allowing flavors to develop slowly.
And let’s not forget sourdough, the holy grail of texture and flavor seekers.
But why isn’t there a single way to bake bread? Because we all live different lives. Some crave a crusty crumb; others seek convenience.
It’s like choosing between binge-watching a series or savoring a film.
Speaking of flavors, if you’re into exploring culinary techniques, you might enjoy Smoking Foods Unlocking Deep Flavors. It’s another way to raise your kitchen game.
The Art of Patience: Mastering No-Knead and Long Fermentation
Bread making techniques often seem daunting. There’s that myth that bread requires constant kneading and fuss. But let me tell you about the no-knead method.
It’s minimal effort, high hydration, and long fermentation. Sounds fancy, right? It’s not.
You mix some flour, water, yeast, and salt. Then you let time do its thing.
This method is kind of like a slow-cooked meal. It lets the dough develop gluten and flavor without you breaking a sweat. You leave it alone for 12-18 hours at room temperature.
Yes, you read that right. You just walk away. During this long rest, enzymes break down starches and the gluten builds itself.
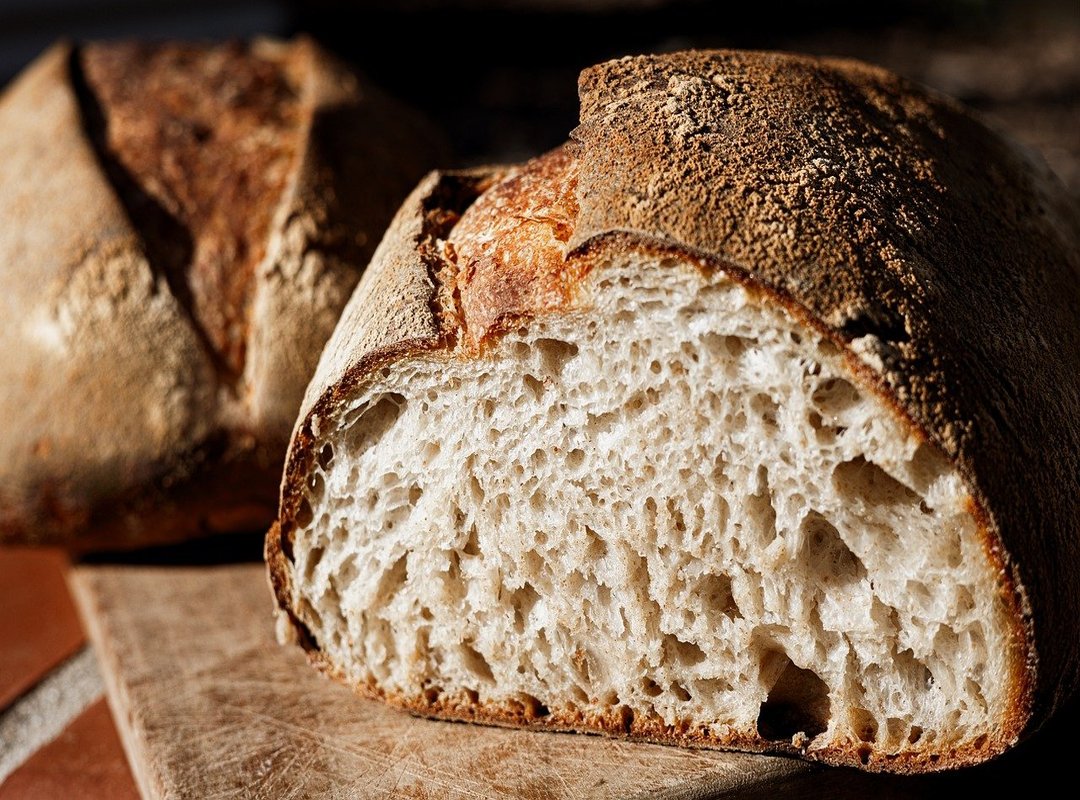
The result? A bread with complex flavor and an open crumb you won’t believe came out of your kitchen.
And guess what? No special skills are required. You gently shape it, let it rise a bit more, then toss it into a preheated Dutch oven.
The crust gets unbeatable. It’s that simple.
Are there downsides? Sure. You need patience and a long planning timeline.
But isn’t the payoff worth it? A loaf with fantastic crust and deep flavor, without you kneading till your arms fall off.
This method is as down-to-earth as bread making gets. It’s accessible to everyone. So why not give it a try?
It could become your new favorite way to bake. After all, sometimes the best things in life take a little time.
Hands-On Happiness: The Traditional Kneaded Bread Approach
Ah, the joy of kneading. It’s like therapy for the hands. You dive into the dough, feeling it transform under your fingertips.
Let’s talk about what’s happening here. Traditional kneading involves physically working the dough to develop gluten. This creates that elasticity and structure we love.
Science alert: kneading aligns gluten strands, trapping gases so your bread gets that consistent, chewy texture. Sound magical? It is, in a way.
But it’s also just science doing its thing.
Here’s how you get there. Start by activating your yeast. If you’re using active dry yeast, give it a little bath in warm water.
Next up: mixing and initial hydration. Combine your ingredients until you’ve got a rough dough. Now comes the star of the show (kneading.) You can go hands-on or let a stand mixer do the heavy lifting.
Aim for that ‘windowpane test’ where a bit of dough stretches thin without breaking. Think of it like checking a pizza’s stretchiness.
Ready for the first rise? Let it bulk ferment, then punch it down (satisfying, right?). Shape your loaf and let it proof again.
Now, baking. Keep steam in there for a crust that’ll make your ears happy.
Ever wonder if your dough’s kneaded enough? Look for visual cues: smooth and elastic. Also, give it a poke.
Does it spring back? Good.
For more on bread making techniques, dig into that link. What’s the payoff here? Control over texture and a satisfying hands-on experience.
Sure, it’s a workout, but isn’t it worth it?
The Living Loaf: Sourdough Secrets
Sourdough is magic. Seriously. It’s bread made from a natural starter (a) fermented mix of flour and water (no) commercial yeast involved.
That’s the beauty of it. You’re not just baking bread; you’re crafting something unique, something alive.
The flavor? Complex and tangy. It’s not like the usual store-bought stuff.
The digestibility is another perk. Because of the long fermentation, it’s easier on the stomach. But let’s talk about the process.
It’s like raising a pet (one that doesn’t bark). You feed and activate your starter, then let the flour and water rest in a step called autolyse. Sounds fancy, right?
It’s just hydrating flour before you mix it with the starter and salt.
Then comes the fun part: stretch and folds. It’s how you gently develop gluten without kneading (great for lazy days). Bulk fermentation follows.
A hot oven and steam make that irresistible crust.
This is the long, temperature-dependent wait where magic happens. Afterward, you shape the dough and let it cold proof, which retards fermentation for flavor. Finally, it’s baking time.
The benefits? Unmatched flavor, a beautiful crust and crumb, and a deeper connection to the art of baking. It’s a commitment, sure.
Nurturing a starter takes time and patience. But isn’t mastery worth it? Sourdough is where bread making techniques meet artisan crafting.
You learn to love the process, bumps and all. And when that loaf comes out of the oven? Totally worth the effort.
Bread Baking Tips: Beyond the Basics
When it comes to bread making techniques, forget guesswork. ingredient quality matters. Use fresh flour, good salt, and precise measurements. Ever wondered why your dough flops?
Temperature’s key. Water should be warm enough to wake up yeast, but not too hot. And proofing!
Don’t rush it. Ambient temperature changes everything. If your bread is dense or the crust is tough, these are tell-tale signs.
Experiment with flours and flavors, but learn to love the quirks (flat loaves and all). It’s like the art of saute mastering heat timing. Practice and patience lead to perfection.
Time to Get Baking
You’ve tackled the confusion around bread making techniques. You know the main methods and how they fit your lifestyle and skill level. That overwhelming feeling?
It’s gone.
Now it’s time to dive in. Pick the method that excites you the most. Start with a simple recipe.
Feel the dough in your hands and embrace the process.
Remember, baking bread is a rewarding adventure. Grab your apron, choose your method, and start your delicious bread-baking journey today. You won’t regret it.
Trust me, the smell of fresh bread is worth every moment. Let’s bake!
 Blyxara Dwell is a dedicated specialist in the technical artistry of cheese production and curated gourmet experiences. With a deep focus on the meticulous process of artisan cheese crafting, Dwell explores the chemical and sensory evolution of Gouda from vat to table. Through insightful guides on gourmet cooking techniques and flavor pairing, Blyxara provides the essential knowledge needed to appreciate the sophisticated heritage and evolving trends within the artisan community.